Xnet minecraft гайд
XNet is an item, fluid, energy, and information transportation mod that is all about efficiency. The cable system is designed in such way that you should be able to make huge cable systems without any overhead. Cables (for example) are not tile entities and have very simply models. This makes transporting items accross a cable of 12000 blocks long just as efficient as doing it on a 5 block long cable.
Networks
At the core of this mod is a network. A network is basically a single section of connected cables connected (via connectors) to various blocks (chests, machines, . ) and one controller. The controller is the block that does the actual work for that network.
Channels
Every network can have 8 channels maximum. Every channel has a type (energy, item, fluid, logic, . ) that you can configure in the controller. Depending on the type of a channel and the machines that are connected to that channel various things can happen.
Connectors
You use connectors to connect machines to your network. Through that connector various channels (even with different types) can do their thing. Normal connectors only allow access through the side from which you are placing the connector. i.e. for a vanilla furnace that would mean that with a normal connector you can only get the melted result by placing a connector at the bottom of the furnace. Using advanced connectors you can overcome that limitation and access the down side of a furnace from any other side. Advanced connectors have other advantages. They allow higher speeds for item and fluid transfer (10 ticks minimum per operation as opposed to 20) and can store more RF (which means they can also transfer more RF).
One warning: an advanced energy connector can still not extract energy from another side. The reason for this is that it is actually the generator/producer itself that pushes energy and it will not do that through that other side. Insertion of energy to another side does work however.
Cables and Colors
Cables (and connectors) can have four different colors. These are used to be able to distinguish multiple distinct networks adjacent to each others (to prevent the cables from connecting). A controller will adapt its color to the first colored cable it can find around it and then remember that (unless that color is totally removed).
Logic Channel
The logic channel is special. First one has to know that every network has seven colors (don't confuse these with cable colors) which is either enabled or disabled. By default all colors are disabled. Every connector (in the controller GUI) can be configured to be active only when a number (up to four) colors are active. Using a logic channel and sensors you can (based on various conditions) enable colors. For example, you can have one sensor detecting how much RF is left in a machine. And if that number goes below 1000 enable 'red'. Then another sensor can detect if there is enough coal in a chest and if true enable 'green'. Then you can have an item channel transporting coal to a coal generator but only when both 'red' and 'green' are enabled. So that means: only enable the coal generator is power is low and there is enough coal. Sensors themselves can also be enabled/disabled based on colors.
Routing Network
If you want to go beyond the 8 channel limit or you want to connect multiple distinct networks you can make a 'routing network' using routers. A single router is already sufficient to connect up to six (six sides of the router) channels but using routing cables and routing connectors you can also make a routing network out of routers. Note that on a single routing network you can only have 32 published channels.
Named Channel
Inside the GUI of the controller you can give a channel a name. This name isn't used anywhere except with the router that is directly attached to this network though a connector. Only channels that have a name will be visible locally in the routing GUI.
Published Channel
Every named channel can be published on a routing network (or with a router). This has to be done in the routing GUI by giving it a published name. The published name is the name with which that channel will be known on the routing network. Note that types are also considered. You have a a published channel called 'foo' for items and another published channel called 'foo' for fluids on the same network but they will not interact and only count as one channel for the channel limit.
Item and Fluid Transfer
One thing to note is that item and fluid transfer is always immediate. There are never items or fluids 'inside' the network. If there is no room for items or fluids to go too in a network then they will not leave their destination.
Power Transfer
Power transfer works differently. Since RF and Forge Energy are 'push' systems (i.e. a powercell or generator pushes energy to adjacent machines) the connector needs to have an internal RF storage. The advanced connector can store more then the normal connector which means it can also transfer more. When you have an energy channel distributing energy to various machines then the power first has to go to the connector (pushed by the generator) and then it can be transfered to all machines that need it.
Power Usage
The controller needs power to do this. There are basically three power consumption areas:
- Constant powerdrain: this is by default set to 0
- Constant powerdrain per active channel: this is by default set to 1
- Powerdrain per operation: this is by default set to 2
Basic Tutorial
Let's make the following setup:
The goal of this setup is to make sure the top chest always contains at least one furnace. That's the only thing this does. As soon as you pull out that furnace it will start producing another one. To do this a crafter is used which is fed from that same chest (it contains cobble). The crafter also needs energy (and so does the controller). The left chest contains coal which is for the coal generator. The system makes sure that no coal is wasted. It will only insert coal if this is needed. The energy buffers of the crafter and controller are also not filled completely.
First let's manage the energy:
In this connector we simply extract whatever energy there is from the coal generator. This is then distributed to the controller and the crafter. In these connectors we also set a maximum (which isn't clearly visible because the input element for maximum is too small in this version) so that the power isn't needlessly wasted:
To produce energy the coal generator needs coal. Let's see how this is handled. First we extract the coal from the chest. We only do this if both 'red' and 'green' are enabled. We will see when these are enabled later in this tutorial but basically they are enabled only when we don't have enough power and when there is enough coal:
And here we insert the coal:
We have a logic channel which measures when it is time to start producing energy and it also senses if we have a furnace in the chest. First there is the sensor to check if we need energy and if there is enough coal:
The other sensor works on the blue channel and is enabled if we have less then 2 furnaces in the chest:
Channel 4 will move cobblestone from the chest to the crafter as long as blue is enabled. Blue will be disabled as soon as the crafter makes a furnace:
Channel 5 is simple and just moves the created furnace from the crafter back into the chest.
Routing Tutorial
This is not a finished tutorial yet but here is possible setup:
First there are three local networks each limited to eight channels (for items, energy, fluid, logic). There is the green, the red, and the yellow channel. The green and the red channels are connected to router A. So they are local to that router. In fact one router is enough to connect different channels. You can publish channels from the red and green networks and connect them with each other. However there is also a yellow network connected to router B. That's a remote network from the perspective of router A. To make channels available to other controllers you must publish them (give them a published name) in the router that they are connected too. Additionally the channel must also have a name in the controller.
Создание и запуск Minecraft сервера с модами на Fabric
- Автор: south_park
- Дата: 30-09-2021, 17:09
- Категория: Инструкции, гайды Minecraft

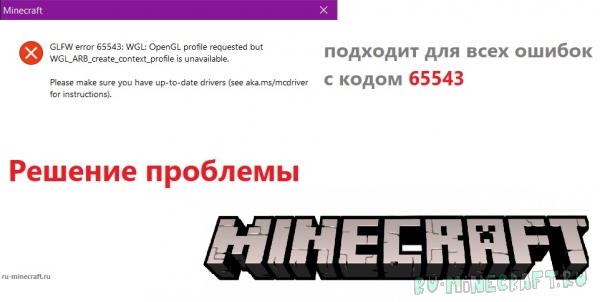
Ошибка GLFW error 65543 - как решить?

Ошибка GLFW 65543 из-за которой вы не можете запустить игру решается достаточно легко. Обычно эта ошибка бывает на старых моделях видеокарт или из-за старого видеодрайвера. Так что-же делать? Давайте разберемся!
Начиная с 1.17 игра начинает требовать с видеокарты OpenGL 3.1+. Однако ошибка может быть и на версиях старее. Если у тебя данная проблема, то заходи сюда. Здесь тебе обязательно помогут!
Java 16 - что это и где его взять? Не запускается Minecraft 1.17+ [Гайд]
- Автор: DimonXxX6018
- Дата: 11-06-2021, 17:06
- Категория: Инструкции, гайды Minecraft
![Java 16 - что это и где его взять? Не запускается Minecraft 1.17+ [Гайд]](https://ru-minecraft.ru/uploads/posts/2021-05/medium/1621443444_java.jpg)
Как сделать свою анимацию для мода Emotecraft [Гайд]
- Автор: BioKoTyT + Sab
- Дата: 10-05-2021, 00:08
- Категория: Инструкции, гайды Minecraft
![Как сделать свою анимацию для мода Emotecraft [Гайд]](https://ru-minecraft.ru/uploads/posts/2020-07/1595919958_emotecraft-mod.jpg)
[Гайд] Как изменить фон в меню minecraft, сделать свою панораму [1.16.5] [1.15.2] [1.14.4] [1.12.2] [1.7.10]
- Автор: novikovmaster2001
- Дата: 27-04-2021, 20:05
- Категория: Инструкции, гайды Minecraft
Подробный гайд по вампиризму на 1.16.5 (Вампиры)
- Автор: Я кость
- Дата: 17-04-2021, 15:10
- Категория: Инструкции, гайды Minecraft

Tabula - Minecraft Modeler - табула, создаем модели [Techne] [1.16.5] [1.15.2] [1.12.2] [1.10.2] [1.7.10] [Гайд]
- Автор: Drovosek
- Дата: 10-04-2021, 15:45
- Категория: Инструкции, гайды Minecraft / Моды Майнкрафт / 1.16.5 / 1.15.2 / 1.12.2 / 1.10.2 / 1.8 / 1.7.10
![Tabula - Minecraft Modeler - табула, создаем модели [Techne] [1.16.5] [1.15.2] [1.12.2] [1.10.2] [1.7.10] [Гайд]](https://img.ru-minecraft.ru/IxSiUgt.jpg)
И сегодня я снова представлю вам программу, которая похожа по свойствам и функциям на Techne и MCAnimator. Она так же позволяет моделировать и анимировать модели внутри игры. но в рукаве у данной проги есть козырь, который позволит обогнать ей по характеристикам Течне и МСАниматор.
Подробнее в полной, господа, оценивайте этого "зверя".
Получить супер меч, инструменты и броню, /give команды для очень мощных зачарованных предметов [1.17.1] [1.16.5] [1.12.2]
- Автор: south_park
- Дата: 9-04-2021, 17:17
- Категория: Инструкции, гайды Minecraft / Читы / Читы для 1.17.1 / Читы для 1.16.5 / Читы для 1.15.2 / Читы для 1.14.4 / Читы для 1.12.2
![Получить супер меч, инструменты и броню, /give команды для очень мощных зачарованных предметов [1.17.1] [1.16.5] [1.12.2]](https://ru-minecraft.ru/uploads/posts/2021-04/medium/1617977812_veschi-boga-v-maynkraft-super-oruzhie-i-bronya.jpg)
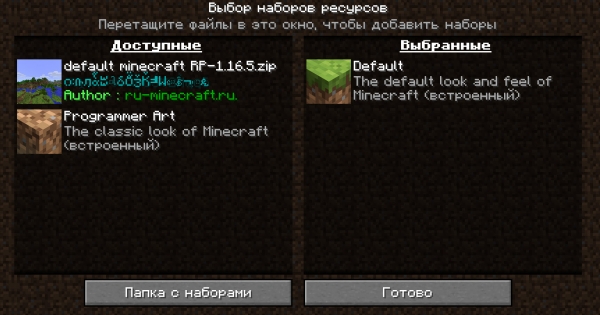
Стандартные текстуры Майнкрафт, где их скачать или как их сделать?
- Автор: south_park
- Дата: 25-03-2021, 20:48
- Категория: Инструкции, гайды Minecraft

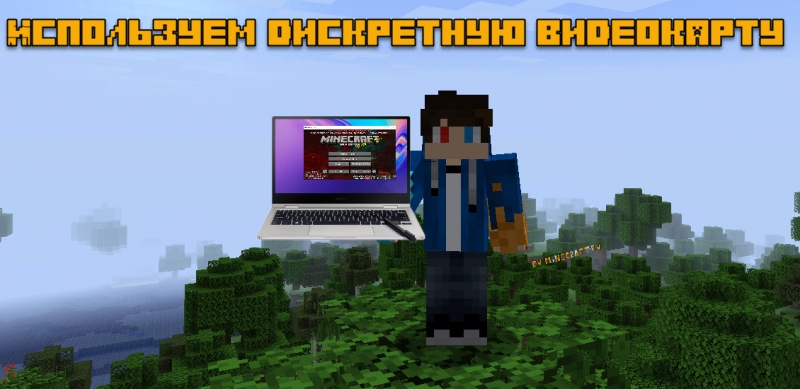
Как запустить майнкрафт на дискретной видеокарте и повысить FPS
- Автор: south_park
- Дата: 10-03-2021, 22:40
- Категория: Инструкции, гайды Minecraft

В этом гайде я расскажу как запустить майнкрафт на дискретной (более мощной чем встроенной) видеокарте вашего ноутбука, что позволит повысить производительность игры, соответственно поднять FPS.
Буквально на днях я получил доступ к достаточно убогому ноутбуку Dell 5570, сразу после установки Windows 10 данный ноутбук запускал Minecraft на встроенной видеокарте, что в большинстве случаев негативно сказывается на производительности игры.

Все доступные скрещивания в мутатроне можно будет посмотреть, нажав «U» в JEI по мутатрону.
Так, например, положив туда лесную принцессу и лугового трутня мы получаем обычную матку.
Скрестив обычную принцессу и лугового (лесного) трутня мы получаем развитую матку.


Также с помощью улучшения «автоматизация» можно автоматизировать пчёл, подключив импорт и экспорт на принцессу и трутня.
После окончания цикла мы получаем принцессу, трутней и её продовольствие (соты и прочее).

Модификация позволит вам использовать сетевой кабель, с которым можно мгновенно транспортировать предметы, жидкости, энергию и информацию на очень большие расстояния, без каких либо задержек.
Читайте также:


